
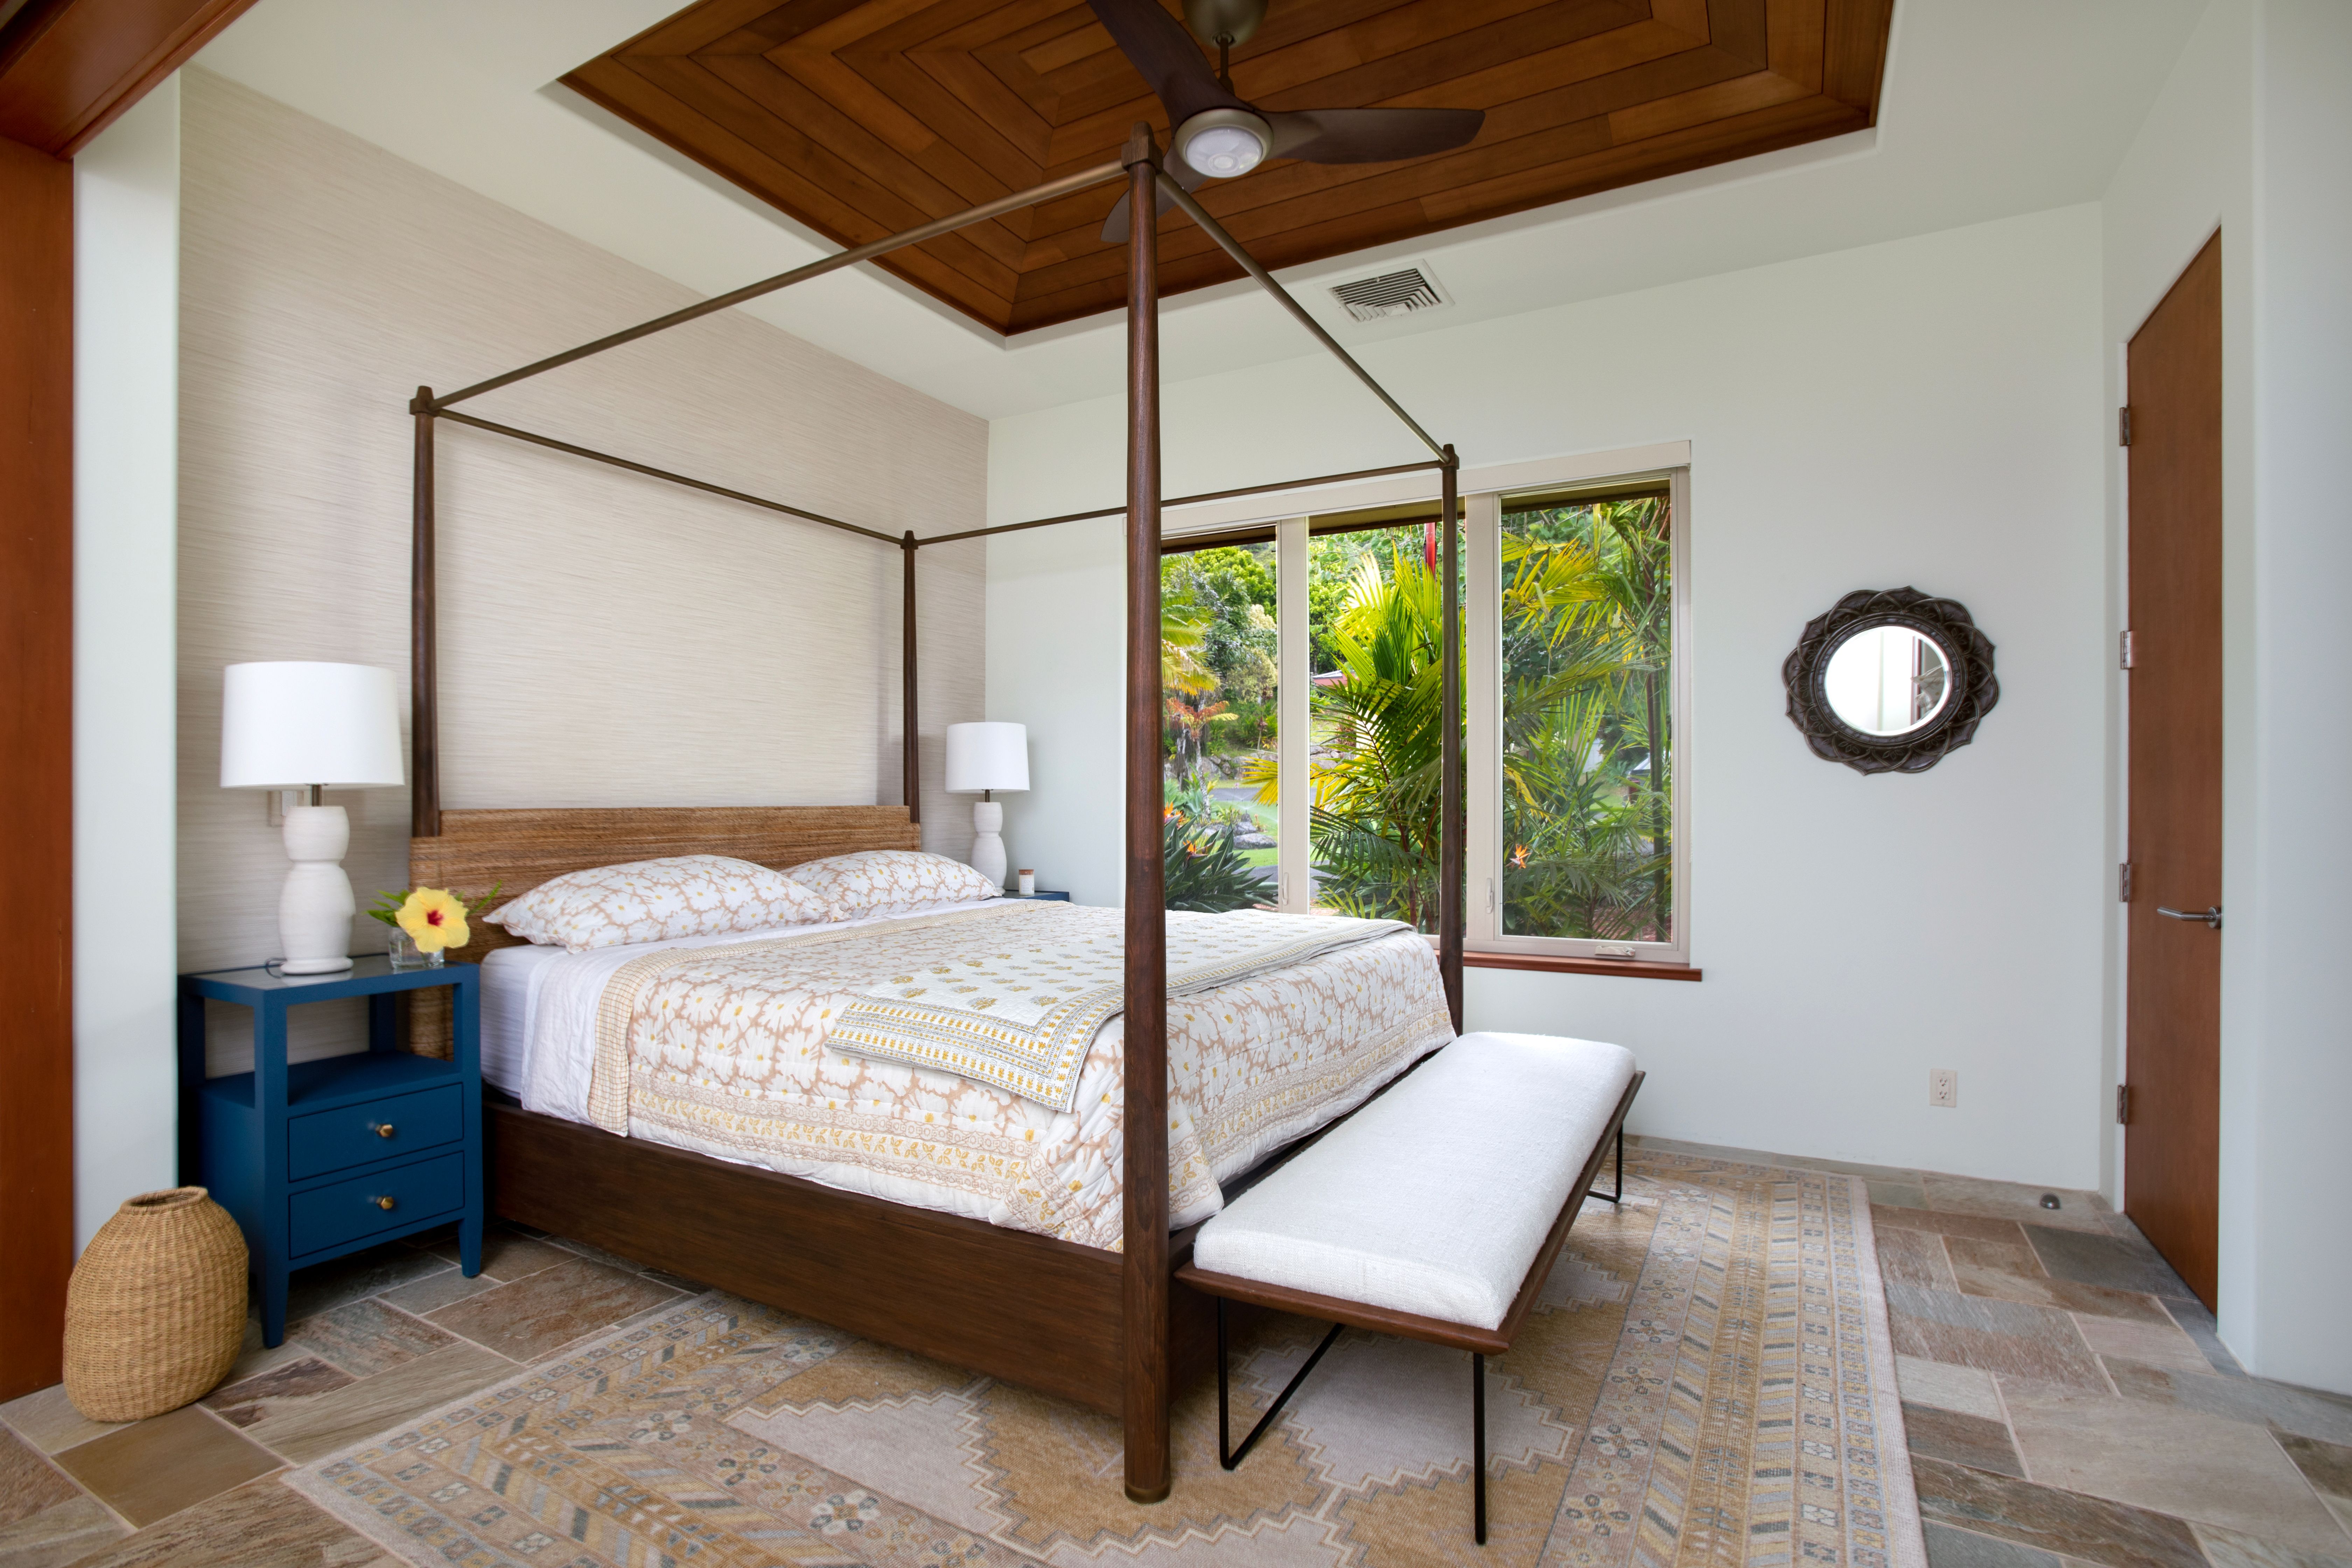
Installation Guide
Getting Your Walls Ready: A Pre-Installation Checklist
The difference between a wallpaper installation that performs well and one that shows problems early often comes down to what happens before the wallcovering goes up. Here are the conditions and preparation items that should be reviewed — and what the project team can address — before installation day.
1. Start With a Clean, Dry Wall
Wallpaper adhesive needs a clean, suitable surface to bond properly. Dust, grease — especially in kitchens — and residual cleaning products can weaken adhesion and contribute to bubbling or lifting seams. MWC can identify wallcovering-specific cleaning or de-glossing needs and coordinate the appropriate preparation scope where required.
2. Remove the Old Wallpaper Completely
Papering over existing wallpaper might seem like a shortcut, but it almost always telegraphs old seams and texture through the new layer, and it traps moisture between the two layers — a particular risk in Hawaii's climate. We remove old material fully and assess the wall underneath before moving forward.
3. Repair Imperfections
Wallpaper is unforgiving on uneven surfaces: rather than hiding small flaws, it can emphasize them. Nail holes, rough patches, and drywall damage should be repaired and brought to an appropriate finish before installation. MWC can identify wallcovering-specific preparation requirements and coordinate with the appropriate trade where required.
4. Prime the Wall
This is the step that's easiest to skip and most costly to skip. A proper wallpaper primer does three things: it creates a consistent surface for adhesive to bond to, it seals porous drywall so moisture doesn't get trapped, and it makes future removal dramatically easier. In Hawaii's humidity, we treat primer as non-negotiable rather than optional — especially in bathrooms, kitchens, and any room without air conditioning.
5. Check for Moisture and Ventilation Issues
Before installation, the room and wall conditions should be reviewed. Is there adequate ventilation? Does the space experience regular steam or moisture? Are there signs of past water intrusion near windows or exterior openings? These conditions can affect material selection, preparation requirements, and whether additional work should be completed before wallcovering installation.
6. Plan Seam Placement and Pattern Matching
Good installers plan where seams will fall before the first strip goes up — ideally away from obvious sightlines like the center of a wall facing the room's main entry. For patterned wallpaper, we also calculate pattern repeat in advance so motifs align cleanly across seams instead of looking obviously mismatched.
What to Prepare Before Installation Day
- Clear furniture and wall art away from the room being papered.
- Let us know about any past water damage, leaks, or mold in the space.
- Flag any electrical outlets, sconces, or fixtures that will need to be worked around.
- If possible, run the room's AC or fans for a few days beforehand to reduce ambient humidity.
The Bottom Line
Wall preparation is not the most visible part of a wallcovering project, but it has a major effect on the finished result. MWC treats preparation as part of the wallcovering plan: we identify relevant conditions, coordinate the appropriate scope, and schedule specialist installation once the material and site are ready.
A note on materials: Proper wall prep matters no matter which brand you choose, but manufacturer guidance varies. We follow the specific prep and primer recommendations for whichever line we're installing, whether that's Thibaut, Romo, Schumacher, or Phillip Jeffries — each has slightly different backing and adhesive requirements.
NEXT STEP
Coordinate the Wall Before Installation Day
MWC can review the selected wallcovering, identify wallcovering-specific preparation needs, coordinate the appropriate scope, and schedule specialist installation once the site is ready.